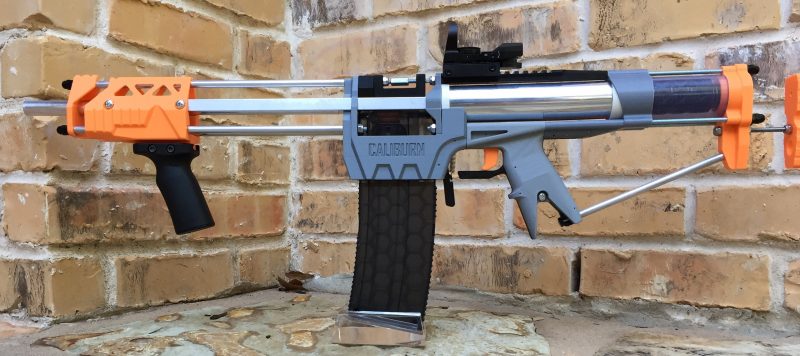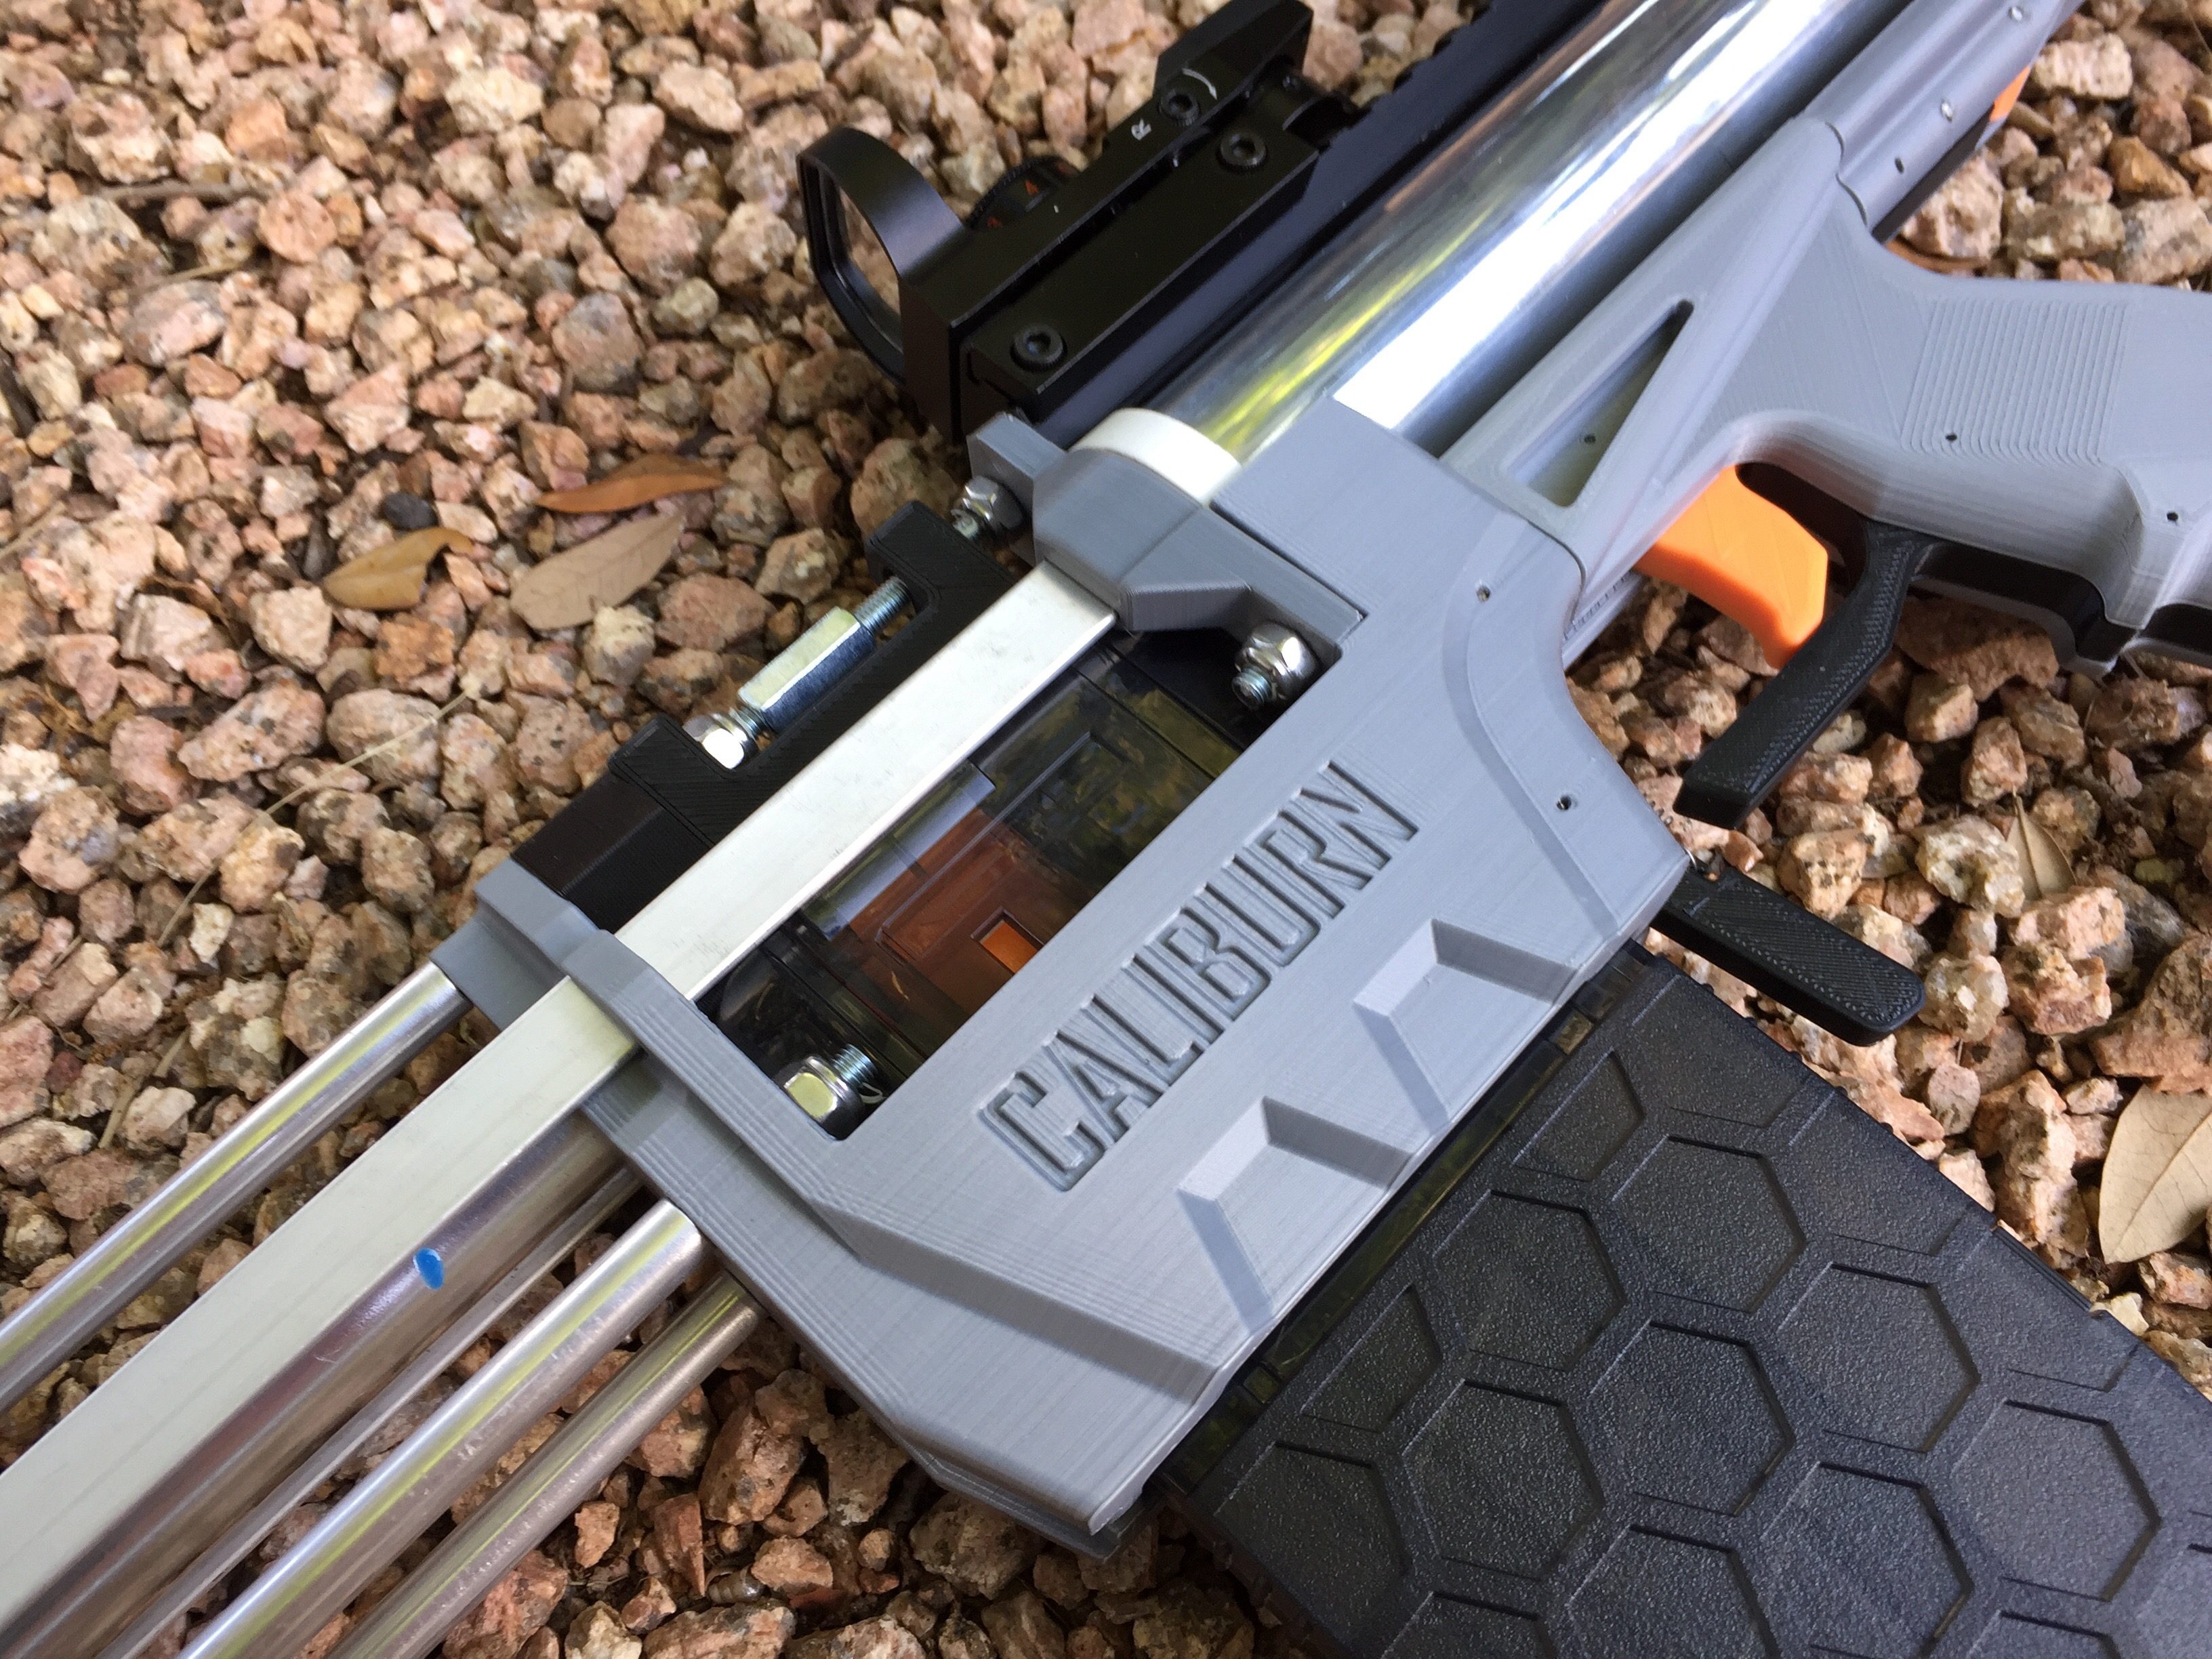
I was one of the lucky few to pickup a newly released homemade Nerf dart blaster kit from CaptainSlug. The kit is comprised of the hardware required to assemble one of his truly unique magazine fed, pump action Nerf blasters. It can fire both standard darts and stefans which interested me as I’d like to put the Caliburn through a similar study that I conducted on modified Retaliators. I also like the idea of printing a large portion of the blaster on my lulzbot mini.
This page will walk you through the printing and assembly process, as well as a summary of my test results. I’ll be working this project over the summer of 2017, so check back frequently for updates.

Resources
Caliburn assembly instructions (external link to PDF)
Caliburn on nerfhaven.com (fascinating project history)

3D printing
Materials planning
I spent a few hours reviewing the STL’s and test converting them from Imperial to Metric so I could more readily plan for print orientation, layer height, duration and material consumption. Lulzbot provides a version of the Cura slicer that is preloaded with my Lulzbot mini’s recommended settings. This software is based on metric, and I have been converting the Caliburn Imperial values from inches to millimeters using the scaling built in to Cura. I scaled the x, y and z axis by a factor of 25.4 to convert from inches to mm. The following table summarizes the parts list (first section is 100% infill, second is 25%) and the approximate print time and weight of materials consumed:

I can’t pass up the opportunity for a cool infographic 🙂 since this is, well, what I do. So here’s some cool design elements in the graphic itself:
- Parts are identified by name and visually since I’m a newbie and I need a key to look stuff up.
- I grouped vertically by infill, 100% at the top, then 25% below. I wanted this visual break in the table since this was important to remind me to change my print settings for a given group of parts. For whatever reason, I seem to overlook the infill parameter frequently while printing, so this table is geared toward my print tendencies.
- I sorted each group vertically by PLA color, then print time. This is interesting to me since it helps me quickly identify which parts I may want to think about more before printing. Lower on the list, less time, less material, less kicking stuff when I screw up a print.
- The stuff I want you to look at is in brown, while the less important numbers are in gray. If my table worked correctly, your eye should have skimmed past the gray stuff and focused on the data I highlighted in brown.
- The background is an off white, which in Tufte’s world, is a more eye pleasing background, which should make reading the table easier on the eyes.
- The font is Gil Sans, which makes for easier reading of data tables.
I used this table to then select parts to print together in different runs. It’s also been a fun information design project on the side.
Color selection
I went through several color layouts in my mind before settling on silver, orange and black. I thought that combination would look nice, while still looking like a toy. I am using orange at the front and rear of the blaster with silver in the middle. I’ll use black for internals and some highlights.
Printing
There’s nothing tremendously special in this section. I just like posting a few intermediate shots of the build progression and the parts groupings I used for a given run. The key settings I used on my Lulzbot mini were:
- advanced settings view
- 0.15 mm layer height
- 100% or 25% infill
- As per Captain Slugs recommendation, supports for the magwell
Other than that, here are a few images of some print runs:


This was my first run at the internal plunger components. The bed adhesion was poor on P1 and the ram from this run so the faces were a bit distortedI was also disappointed with how P3B turned out, so I’ll likely reprint that piece as well.


A run of silver. I’m using silver for most of the central portion of the nerf blaster. The magwell turned out especially well.


This was an interesting run. The top rail was the only piece I really had to shoehorn into my bed to get it to print. I printed diagonally to get a full scale print:

And here’s the finished product:


Note you can see how cura suggested orienting the mag release for this print. I go into more detail on printing the mag release below. It didn’t turn out so well in this orientation. For those interested, here’s a screenshot of Cura in action for this print:
 .
.
Reprints
I had trouble printing a few parts. This section walks you through my mistakes 🙂
Left Grip
One of the grips did not adhere well to my build plate and the edges lifted distorting the piece. Here you can see a good print of Grip3Right (on the left) and the distorted print of Grip3Left (on the right):

And from the rear view, with Grip3Left on the left, and Grip3Right on the right:

UPDATE: The left grip reprint also had bed adherence issues, but not as severe. Perhaps it has something to do with my build plate and the specific orientation of this part.
Ram
The ram also gave me trouble. Here again the bed adhesion may not have been great, and the rim of the ram was a bit distorted. I am not sure how much this would impact performance, but I went ahead and reprinted:

UPDATE: Well my second attempt turned out worse! I’m not sure what is going on. I may try a few test runs of discs of various thicknesses to see if a thicker brim would not warp. I ended up using the first ram for this project.
Mag Release
The mag release was tricky too. I went with Cura’s initial placement of the piece when I loaded the model and the spring hook was oriented on the build plate. I printed with supports, and, well, it didn’t turn out so well:

I reoriented the model to lay on it’s side for printing on the second pass. We will see how that ends up.
UPDATE: The second pass printed with the release on it’s side turned out much better. I also ran this with 100% infill since I had additional parts in the queue to print that required 100%.
P3B
Finally I tried printing P3B without supports. It turned out really sloppy on my printer and required a lot of clean up. I was not happy with the cosmetics on the final touched up print, so I opted to print again in orange with supports to see if I could get a cleaner print.
UPDATE: after about an hour of sanding and filing followed by some acetone cleanup I decided to stick with the first print in black of P3B.
Caliburn assembly
There’s not a lot to detail on assembly since the instructions are phenomenal so I will skip to a photo montage of my assembled Caliburn Nerf Blaster.
Full blaster shots


Mag well


Trigger and spring


Caliburn testing
Initial testing yielded promising results from the Caliburn in combination with a variety of Stefan darts. The most consistent performance came from the combination of the Caliburn and Worker Stefans. Artifact FVJs performed poorly with the Caliburn, while ACC Gen 2 darts provided the highest maximum velocities, but were more variable in there performance:
I’ll follow up this work with additional Caliburn tuning and post more expansive results in another post.


